@vercel/og 라이브러리로 동적 Open Graph 이미지 생성하기
Next.js에서 Vercel의 @vercel/og 라이브러리를 활용해 다국어 지원 사이트에 동적 OG 이미지를 구현하는 방법을 알아보자.
게시글을 다국어로 제공하다 보면, 언어를 바꿀 때 텍스트는 바뀌지만 썸네일은 그대로인 경우가 생긴다. 내용은 영어인데 이미지는 한글로 표시되는 것처럼 어색한 상황이 발생한다.
이 글에서는 @vercel/og 라이브러리로 OG(Open Graph) 이미지를 동적으로 생성해, 언어에 맞는 썸네일을 자동으로 제공하는 방법을 다룬다.
Next.js는 Vercel의 @vercel/og 라이브러리를 통해 동적 OG 이미지 생성을 지원한다. 이 기능은 Vercel Functions 을 통해 계산되고 실행된다.
Next.js App Router 프로젝트라면 별도 패키지 설치 없이 next/og에서 바로 불러올 수 있다.
import { ImageResponse } from "next/og"Pages Router 프로젝트라면 @vercel/og 패키지를 별도로 설치해야 한다.
npm i @vercel/ogimport { ImageResponse } from "@vercel/og"JSX 문법으로 컴포넌트를 작성하듯 이미지 레이아웃을 구성할 수 있다. API 파일이지만 JSX 문법을 사용하므로 파일 확장자는 jsx 또는 tsx로 생성해야 한다.
style prop으로 인라인 스타일을 적용하거나,
return new ImageResponse(
  <div
    style={{
      height: '100%',
      width: '100%',
      display: 'flex',
      flexDirection: 'column',
      alignItems: 'center',
      justifyContent: 'center',
      backgroundColor: '#fff',
      fontSize: 32,
      fontWeight: 600,
    }}
  >
    <div style={{ marginTop: 40 }}>Hello, World</div>
  </div>
)
tw prop으로 Tailwind CSS 클래스를 적용할 수도 있다.
return new ImageResponse(
  <div
    tw="h-full w-full flex flex-col items-center justify-center bg-white text-xl font-bold"
  >
    <div tw="mt-10">Hello, World</div>
  </div>
)/pages/api/og.tsx 경로에 파일을 만들고 다음과 같이 작성한다.
import { NextRequest } from "next/server";
import { ImageResponse } from "@vercel/og";

export const config = {
  runtime: "edge",
};

export default async function handler(request: NextRequest) {
  const { searchParams } = request.nextUrl;
  const title = searchParams.get("title");

  return new ImageResponse(
    (
      <div tw="flex flex-col w-full h-full items-center justify-center bg-white">
        <div tw="bg-gray-50 flex w-full">
          <div tw="flex flex-col md:flex-row w-full py-12 px-4 md:items-center justify-between p-8">
            <h2 tw="flex flex-col text-3xl sm:text-4xl font-bold tracking-tight text-gray-900 text-left">
              {title}
            </h2>
            <div tw="mt-8 flex md:mt-0">
              <div tw="flex rounded-md shadow">
                <a tw="flex items-center justify-center rounded-md border border-transparent bg-indigo-600 px-5 py-3 text-base font-medium text-white">
                  시작하기
                </a>
              </div>
              <div tw="ml-3 flex rounded-md shadow">
                <a tw="flex items-center justify-center rounded-md border border-transparent bg-white px-5 py-3 text-base font-medium text-indigo-600">
                  더 알아보기
                </a>
              </div>
            </div>
          </div>
        </div>
      </div>
    ),
    {
      width: 1200,
      height: 630,
    },
  );
}
Pages Routrer는 Node.js runtime을 지원하지 않기 때문에 Vercel Function이 Edge runtime에서 실행 되도록 아래 설정이 추가로 적용되어야 한다.
export const config = {
  runtime: "edge",
};/app/api/og/route.tsx 파일을 만들고 다음과 같이 작성한다. Pages Router와 경로와 작성 방식에 차이가 있지만, 반환값은 동일하다.
export async function GET(request: NextRequest) {
  const { searchParams } = request.nextUrl;
  const title = searchParams.get("title");

  // 이하 생략...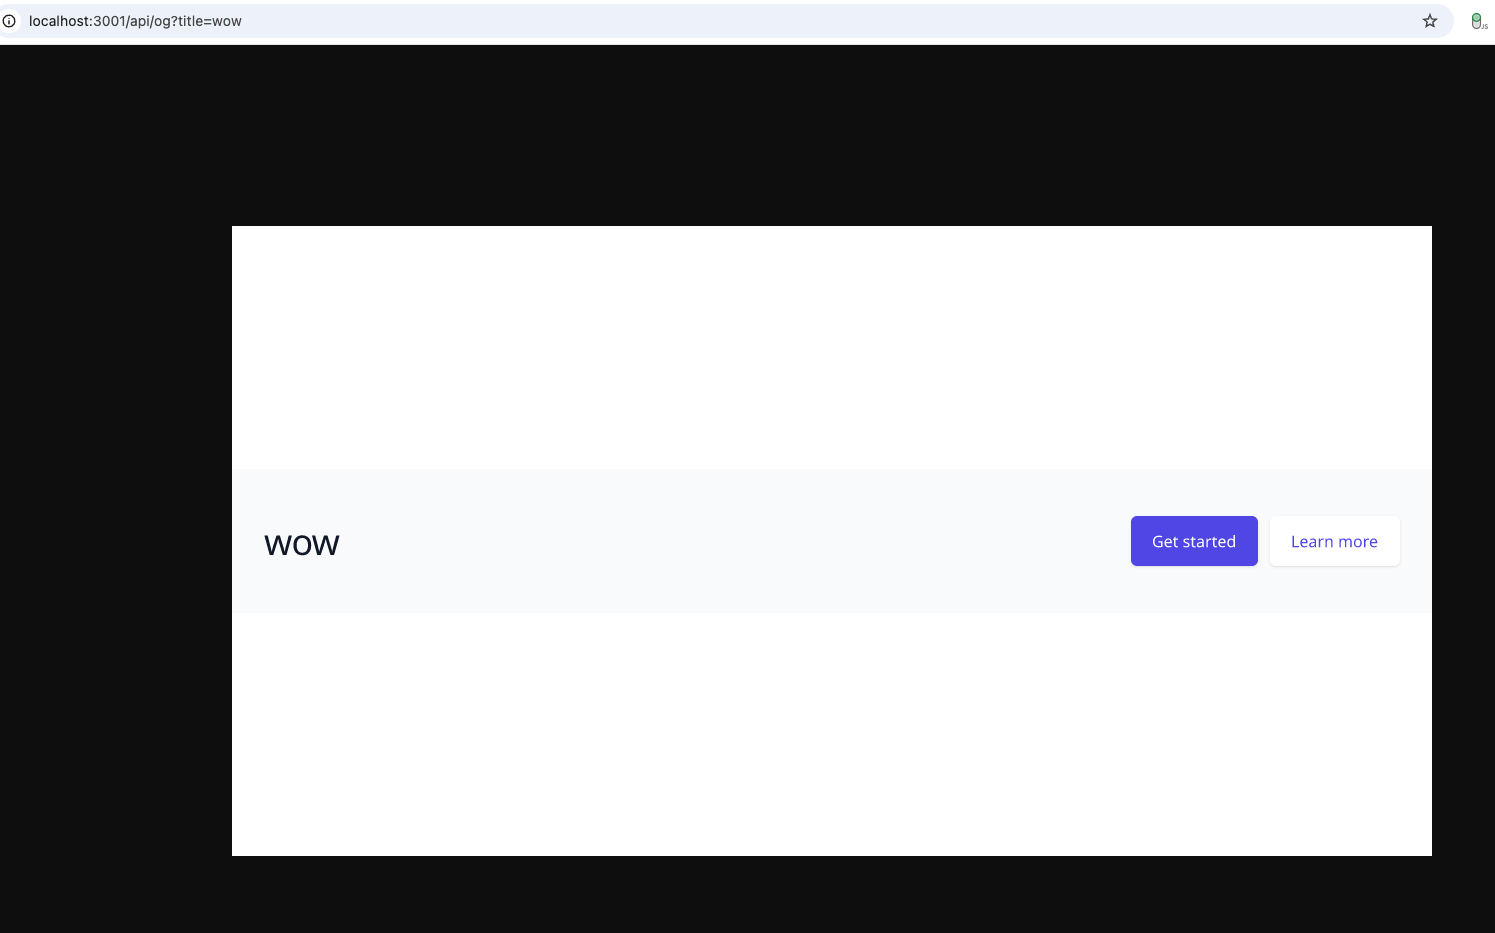
}searchParams로 쿼리 파라미터를 받아 이미지에 동적으로 반영할 수 있다.
const title = searchParams.get("title");/api/og?title=WOW를 호출하면 다음과 같이 렌더링된다.
더 멋진 OG 이미지를 위해 사용자 정의 폰트를 추가해보자. 폰트 파일이 /public/fonts/ 아래에 있다고 했을 때, 다음과 같이 작성할 수 있다.
import { NextRequest } from "next/server";
import { ImageResponse } from "next/og";
import { join } from "path";
import { readFileSync } from "fs";

export async function GET(request: NextRequest) {
  // 생략...
  const fontPath = join(process.cwd(), "public", "fonts", "WONTitle.ttf");
  const fontData = readFileSync(fontPath);

  return new ImageResponse(
    (
      <div>
      // 생략...
      </div>
    ),
    {
      width: 1200,
      height: 630,
      fonts: [
        {
          name: "WONTitle",
          data: fontData,
        },
      ],
    },
  );
}외부 URL이 있는 이미지는 URL을 그대로 src에 전달하면 된다. 로컬 이미지는 파일을 읽어 Base64로 변환한 뒤 사용한다.
const logoPath = join(
  process.cwd(),
  "public",
  "images",
  "logo",
  `${logo}.png`,
);
const logoBuffer = readFileSync(logoPath);
const logoBase64 = `data:image/png;base64,${logoBuffer.toString("base64")}`;

// ... 생략

return new ImageResponse((
  <img
    alt="og thumbnail"
    tw="absolute -translate-x-1/2 -translate-y-1/2 "
    src={logoBase64}
    width={logoWidth}
    height={logoHeight}
    style={{
      opacity: 0.6,
    }}
/>), ...)
이제 언어에 따라 스타일은 같지만, 텍스트는 다르게하여 썸네일을 동적으로 생성해 보여줄 수 있게 되었다.